Sage Barista Express BES875: A Comprehensive Instruction Manual Guide
Welcome! This guide details operation of your Sage Barista Express. It covers initial setup, brewing, milk frothing, cleaning, and troubleshooting for optimal coffee enjoyment.
Understanding Your Sage Barista Express
Congratulations on acquiring the Sage Barista Express BES875! This machine brings café-quality coffee into your home, combining a conical burr grinder with a 15-bar pump for exceptional espresso extraction. Familiarizing yourself with its features is key to unlocking its full potential.
The integrated grinder ensures fresh coffee grounds with every brew, while the hands-free cradle conveniently holds portafilters during grinding. Precise temperature control and pressure profiling deliver consistent results. The machine boasts a 250g bean hopper and a removable 54mm tamper. Understanding the interplay between grind size, tamping pressure, and brew time will allow you to customize your coffee to perfection. Regular cleaning, indicated by the “Clean Me” function, is vital for longevity and performance.

Key Components & Their Functions
Let’s explore the core elements of your Sage Barista Express. The bean hopper (A) stores up to 250g of beans. Below, the integrated conical burr grinder (B) delivers consistent grounds to the grind outlet (C), activated by the grinding activation switch (D). Utilize the hands-free grinding cradle (E) for convenience.
Adjust grind size via the GRIND SIZE selector (F) and amount with the GRIND AMOUNT dial (G). The FILTER SIZE button (H) selects single or double shots. The POWER button (I) controls operation. The integrated tamper (J) ensures even tamping. Espresso brews through the group head (K) and into the portafilter (L), fitting tall mugs with extra clearance (M). A wet & dry separator simplifies cleanup.
Initial Setup & First Use
Before your first brew, thoroughly rinse all removable parts with warm water. Fill the water tank and ensure it’s securely placed. Plug in the machine and switch it on using the POWER button. The initial use is crucial for rinsing the system and priming the heating element – a vital step for optimal performance.
Run several cycles without coffee grounds. Place a container under the group head and steam wand. Press and hold the 1 CUP or 2 CUP button to initiate water flow. Repeat this process multiple times until water flows smoothly. This removes any manufacturing residue. Refer to pages 20 and 21 for detailed guidance.
Water Tank Capacity & Filling Instructions
The Sage Barista Express BES875 features a removable water tank designed for convenient filling and cleaning. The tank’s maximum capacity is approximately 2 liters (67.6 fluid ounces). To fill, gently remove the tank from the rear of the machine. Rinse it thoroughly before each fill to maintain water quality and prevent scale buildup.
Fill the tank with fresh, cold, filtered water to the ‘MAX’ level indicated. Avoid overfilling. Securely re-insert the tank back into the machine, ensuring it clicks into place. Proper water levels are essential for optimal brewing temperature and pressure. Regularly check the water level before each use to avoid interruptions during the brewing process.

Grinding Coffee Beans – A Step-by-Step Guide
The Sage Barista Express boasts an integrated conical burr grinder with a 250g bean hopper (A). To grind, ensure the hopper contains fresh coffee beans. Activate the grinder by pressing the portafilter into the grinding activation switch (D) or utilizing the hands-free grinding cradle (E).
Adjust the grind size selector (F) to your desired fineness – finer for espresso, coarser for other methods. Use the grind amount dial (G) to select the quantity of coffee grounds. The machine grinds directly into the portafilter. For hands-free operation, place the portafilter in the cradle and press the grinding activation switch.
Adjusting Grind Size for Optimal Flavor
Achieving the perfect espresso requires precise grind size adjustment. The grind size selector (F) on your Sage Barista Express controls this. A finer grind increases resistance, resulting in a slower extraction and bolder flavor – ideal for espresso. Conversely, a coarser grind reduces resistance, leading to faster extraction and a lighter body.
Start with a medium grind and adjust incrementally. If the espresso extracts too quickly (under 20 seconds), use a finer setting. If it extracts too slowly (over 30 seconds), opt for a coarser setting. Experimentation is key to unlocking the full flavor potential of your chosen coffee beans!
Utilizing the Hands-Free Grinding Cradle
The hands-free grinding cradle (E) simplifies the bean-to-cup process. Place your portafilter securely into the cradle, ensuring it’s properly aligned with the grind outlet (C). Activate grinding by pressing the portafilter into the cradle – no need to hold it! The grinding activation switch initiates the integrated conical burr grinder (B).
Adjust the grind amount dial (G) to select your desired dose. This allows for single or double shot preparation. The cradle’s design ensures consistent and mess-free grinding, delivering freshly ground coffee directly into the portafilter for immediate use. It’s a convenient feature for streamlined espresso creation.

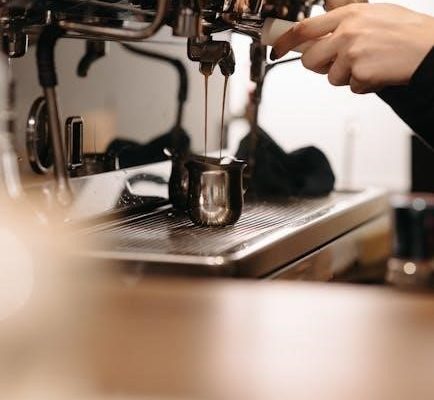
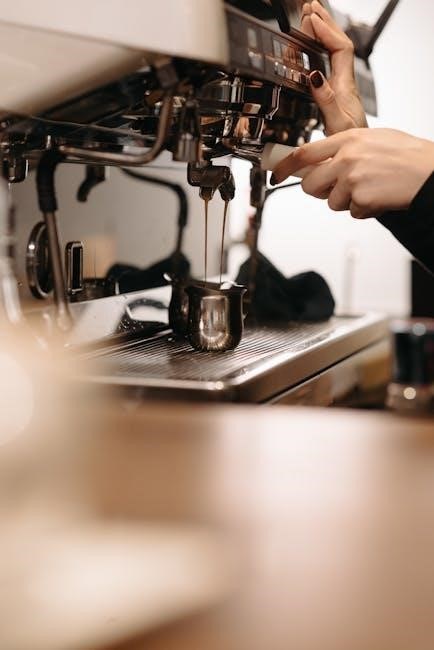
Brewing Espresso – Mastering the Process
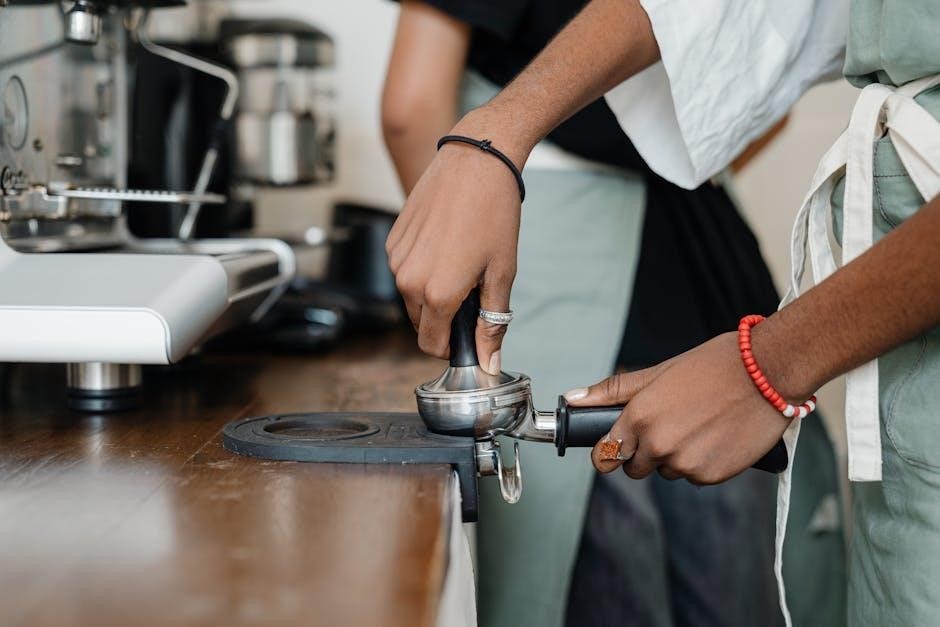
Achieving perfect espresso requires precision. Begin by ensuring your ground coffee is evenly distributed within the portafilter (L). Utilize the integrated 54mm tamper (J) to apply consistent pressure – approximately 30lbs – for a firm, level tamp. This is crucial for even water flow.
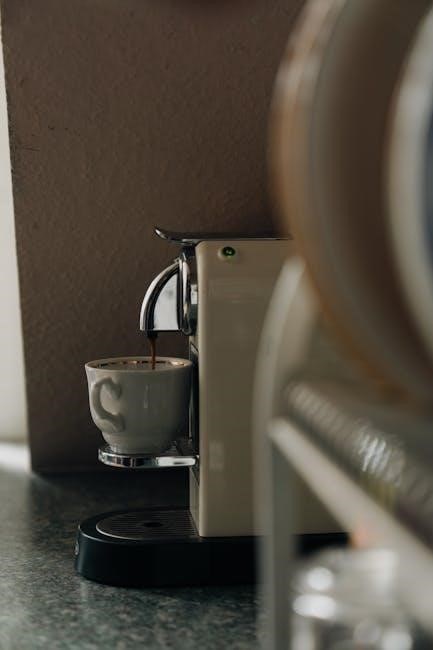
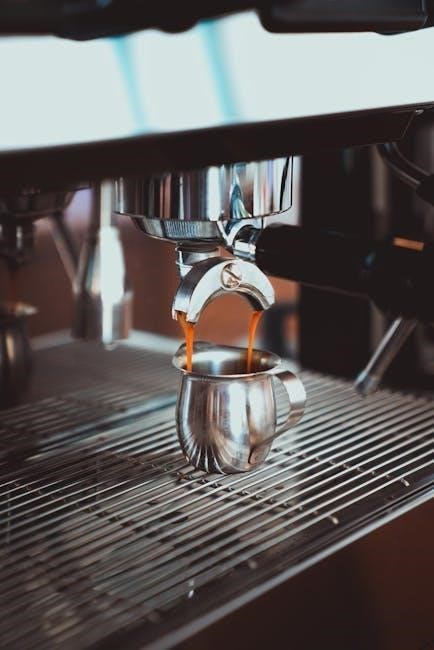
Lock the portafilter firmly into the group head (K). Select either the 1 CUP or 2 CUP button to initiate brewing. The machine will automatically control water pressure and temperature. Observe the extraction; a rich, golden crema indicates a successful brew. Experiment with grind size and tamping pressure to refine your espresso.
Tamping Techniques for Consistent Results
Consistent tamping is paramount for espresso quality. Begin with a level distribution of ground coffee in the portafilter. Apply the 54mm tamper (J) vertically, ensuring even pressure across the coffee bed. Aim for approximately 30lbs of force – a firm, but not excessive, compression.
Avoid angling the tamper, as this creates uneven density. A polished, level tamp prevents channeling, where water finds the path of least resistance. This ensures optimal extraction and a balanced flavor. Practice makes perfect; consistent tamping yields repeatable, high-quality espresso shots every time.
Single vs. Double Shot Brewing
The Sage Barista Express allows for both single and double shot espresso brewing. A single shot typically uses 7-8 grams of coffee, while a double shot utilizes 18-20 grams. Select the appropriate portafilter basket based on your desired volume.
To brew a single shot, press the 1 CUP button. For a double shot, press the 2 CUP button. Brewing time should ideally fall between 20-30 seconds. Adjust grind size (F) and tamping pressure to achieve this. Double shots deliver a more intense flavor and crema, while single shots offer a milder experience. Experiment to find your preference!
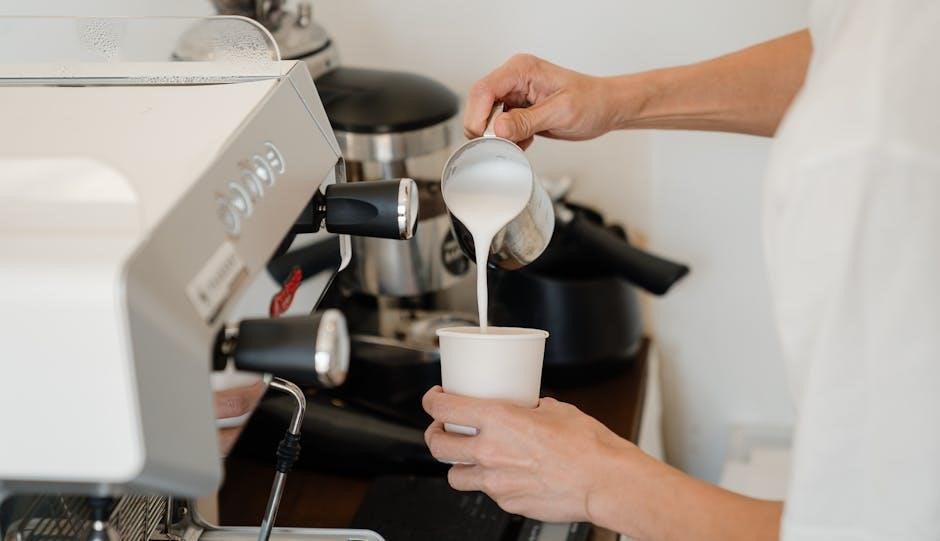
Milk Frothing – Achieving Barista-Quality Foam
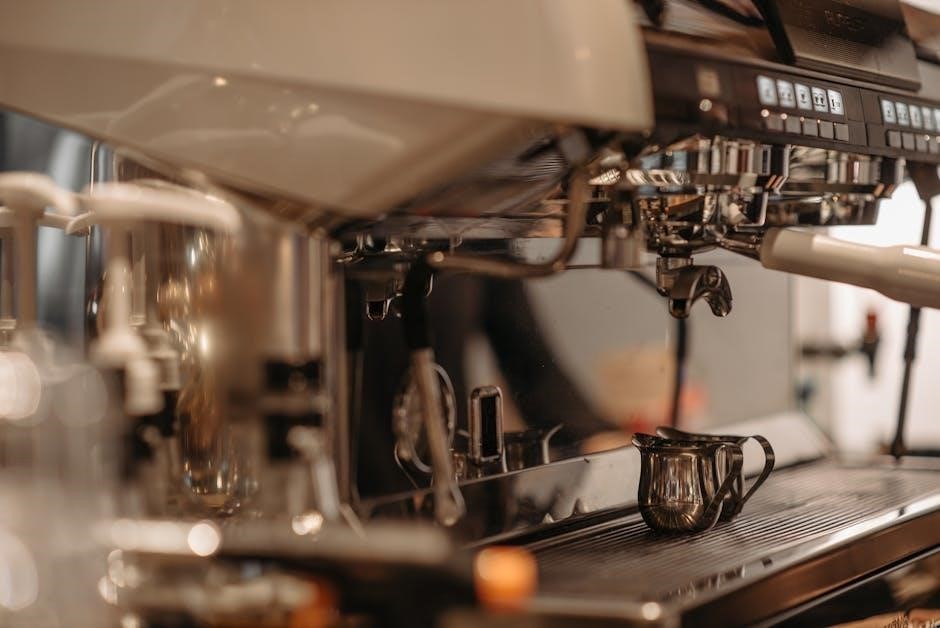
The Sage Barista Express’s steam wand enables you to create velvety microfoam for lattes and cappuccinos. Begin with cold, fresh milk – pasteurized whole or semi-skimmed milk (4-6°C / 39-43°F) is recommended. Always use the provided milk jug (M).
Purge the steam wand briefly to remove condensation. Submerge the wand tip just below the milk surface and introduce air to create foam. Lower the jug to heat the milk, creating a whirlpool. Aim for a temperature of 60-65°C. Tap the jug to eliminate large bubbles and swirl for a glossy texture.
Using the Steam Wand Effectively
To utilize the steam wand, first purge it to clear any condensation. Position the wand tip just beneath the milk’s surface, angling slightly to create a whirlpool. Introduce air initially to stretch the milk, creating microfoam – this is key for latte art.
As the milk heats, lower the jug to maintain the whirlpool, preventing large bubbles. Avoid overheating; aim for 60-65°C. After steaming, tap the jug firmly on the counter to break down any remaining large bubbles and swirl gently to integrate the foam for a smooth, velvety texture. Wipe the wand immediately after use.
Optimal Milk Temperature & Texture
Achieving barista-quality milk requires attention to both temperature and texture. For optimal froth, use pasteurized whole or semi-skimmed milk, refrigerated between 4-6°C (39-43°F). The ideal milk temperature is between 60-65°C (140-150°F); exceeding this can scald the milk, impacting its sweetness and texture.
Properly frothed milk should be velvety smooth with a microfoam consistency – tiny, uniform bubbles. This creates a glossy sheen and allows for latte art. Avoid large, airy bubbles. Consistent practice and careful monitoring of temperature are crucial for mastering milk frothing with your Sage Barista Express.
Cleaning & Descaling – Maintaining Your Machine
Regular cleaning is vital for optimal performance and longevity of your Sage Barista Express. Daily wipe-downs of the steam wand and group head are essential. The “Clean Me” indicator signals the need for descaling, typically due to mineral buildup; Ignoring this can affect brewing temperature and taste.
Descaling involves flushing the system with a descaling solution. A mixture of one part white vinegar to one or two parts water (depending on water hardness) is effective. Always follow the detailed descaling procedure outlined in the full manual to ensure thorough removal of scale and prevent damage to internal components.
The “Clean Me” Indicator – What Does It Mean?
The flashing “Clean Me” button on your Sage Barista Express BES875 isn’t an error, but a reminder! It indicates that it’s time to perform a cleaning cycle to remove coffee oils and mineral buildup from the internal components. This buildup impacts the machine’s performance, potentially affecting brewing temperature and espresso quality.
Ignoring the indicator can lead to reduced efficiency and, over time, potential damage. The cleaning cycle utilizes a specialized cleaning solution (or a vinegar solution as detailed elsewhere) to flush the system. Regular descaling, prompted by this indicator, ensures your machine continues to deliver barista-quality results.
Descaling Procedure with Vinegar Solution
To descale your Sage Barista Express BES875 using vinegar, begin by preparing the solution. For softer water areas, mix one part white vinegar with two parts cold tap water. Harder water requires a 1:1 ratio. Remove the portafilter and frothing attachment before pouring the mixture into the water tank.
Power on the machine and place a large container under both the group head and steam wand. Initiate a manual brewing cycle by holding the 1 or 2 CUP button until the tank is empty. Repeat this process with fresh water to thoroughly rinse the system, ensuring no vinegar residue remains.
Troubleshooting Common Issues
Encountering problems with your Sage Barista Express? A frequently observed issue is the flashing “Clean Me” button, indicating a need for descaling. Address this promptly using the vinegar solution procedure detailed in the cleaning section. If the grinder malfunctions, ensure beans are properly loaded and the grinding activation switch is engaged.
Check for bean obstructions. For persistent issues, consult the Sage Service Centre. Remember to always refer to the manual for detailed guidance. Regular maintenance and proper cleaning significantly reduce the likelihood of encountering these common operational challenges.
Addressing the Flashing “Clean Me” Button
A flashing “Clean Me” button signals the need to descale your Sage Barista Express. This is crucial for maintaining optimal performance and preventing damage. Begin by preparing a descaling solution – mix one part white vinegar with either two parts water (for softer water) or one part water (for harder water).
Remove the portafilter and frothing attachment. Pour the solution into the water tank, then power on the machine. Place a container under the group head and steam wand. Initiate the cleaning cycle by holding the 1 CUP or 2 CUP button until complete. Rinse thoroughly afterwards;
Grinder Malfunctions & Solutions
If your Sage Barista Express grinder isn’t functioning, first ensure the bean hopper contains sufficient beans. Check the ‘GRIND SIZE’ selector isn’t set too fine, potentially causing blockages. Confirm the ‘GRIND AMOUNT’ dial isn’t at zero. If beans aren’t grinding, unplug the machine and carefully inspect the burrs for obstructions – never touch them while powered.
A common issue is bean build-up; remove and clean the burrs following the manual’s instructions. If the grinder is noisy, it may indicate foreign objects; cease use and inspect. Regularly cleaning the grinder prevents malfunctions and ensures consistent results.
Programming Your Coffee Preferences
The Sage Barista Express BES875 allows customization of your coffee experience. Any coffee can be programmed to your liking, adjusting brew time and volume for single or double shots. Experiment with grind size and tamping pressure to fine-tune extraction. Remember, consistent tamping is crucial for repeatable results.
While the machine doesn’t offer extensive pre-programmed settings, mastering manual control provides ultimate flexibility. Note your preferred settings – grind size, amount, and brew time – for consistent, personalized espresso. Regular adjustments based on bean type and freshness will optimize flavor.
Safety Precautions & Important Notes
Caution: The Sage Barista Express operates at high temperatures and pressures. Always allow the machine to cool before cleaning or maintenance. Never immerse the machine, power cord, or plug in water. Use only the provided milk jug; other containers may not withstand the steam wand’s heat.
Ensure the machine is placed on a stable, level surface. Regularly check the power cord for damage. Do not operate the machine if it’s malfunctioning. Supervise children when near the appliance. Only use pasteurized, refrigerated milk for optimal frothing and to prevent bacterial growth. Refer to the Sage Service Centre for repairs.
Sage Service Centre Information
For assistance or repairs, contact the Sage Service Centre. Do not attempt to disassemble or repair the machine yourself, as this may void the warranty. The Sage Barista Express is a precision instrument requiring qualified service. Locate your nearest authorized service centre through the Sage Appliances website or customer support line.
Ensure you have your model number (BES875) and proof of purchase readily available when contacting support. Sage offers comprehensive support, including troubleshooting guides and replacement parts. Regular servicing ensures optimal performance and longevity of your machine. Contacting Sage directly guarantees genuine parts and expert advice.
Understanding Filter Size Options
The Sage Barista Express BES875 utilizes a 54mm portafilter, crucial for consistent espresso extraction. Filter baskets determine the coffee dose and, consequently, the espresso’s strength and volume. Your machine includes single-wall and dual-wall filter baskets. Single-wall filters are ideal for lighter roasts and experienced users, allowing greater crema development.
Dual-wall filters are more forgiving, suitable for darker roasts or beginners, providing a more consistent extraction. The ‘FILTER SIZE’ button on the machine allows you to select the appropriate filter. Experiment with both to discover your preferred taste profile. Proper filter selection is key to unlocking the full potential of your coffee beans.
Milk Jug Usage & Best Practices
Optimal milk frothing relies heavily on proper technique and the correct tools. Always use the provided stainless steel milk jug with your Sage Barista Express BES875. Its shape is specifically designed for creating a vortex, essential for microfoam texture. For best results, fill the jug to approximately one-third full with cold, fresh, pasteurized whole or semi-skimmed milk (4-6°C / 39-43°F).
Purge the steam wand before and after each use. Submerge the wand tip just below the milk surface initially, then gradually lower it to create the vortex. Avoid introducing air too aggressively. Wipe the wand clean immediately after frothing to prevent milk buildup.